Guides for SE student projects »
This is a WIP community resource, containing contributions from community members.
- If you notice any bugs or have suggestions for improvements, please report at https://github.com/se-edu/guides/issues
- You are welcome to contribute by sending a PR to https://github.com/se-edu/guides/pulls too.
AI-Assisted Coding: Using Copilot in GitHub
This section shows how to use GitHub Copilot directly within GitHub to help draft issues, review pull requests, and streamline your development workflow.
Pre-requisites
If you have not enabled Copilot in your GitHub account, follow the guide in the panel below:
Signing Up for GitHub Copilot
GitHub Copilot is an account-linked service that sits on top of your GitHub account. To use it, you need to enable it through a subscription or educational benefits. Here are the steps:
- Sign up for a GitHub Account, if you don't have one yet.
- Fill in your billing information
- Go to the billing information for your GitHub account.
- Fill in only your billing information (Payment method and other details are not required).
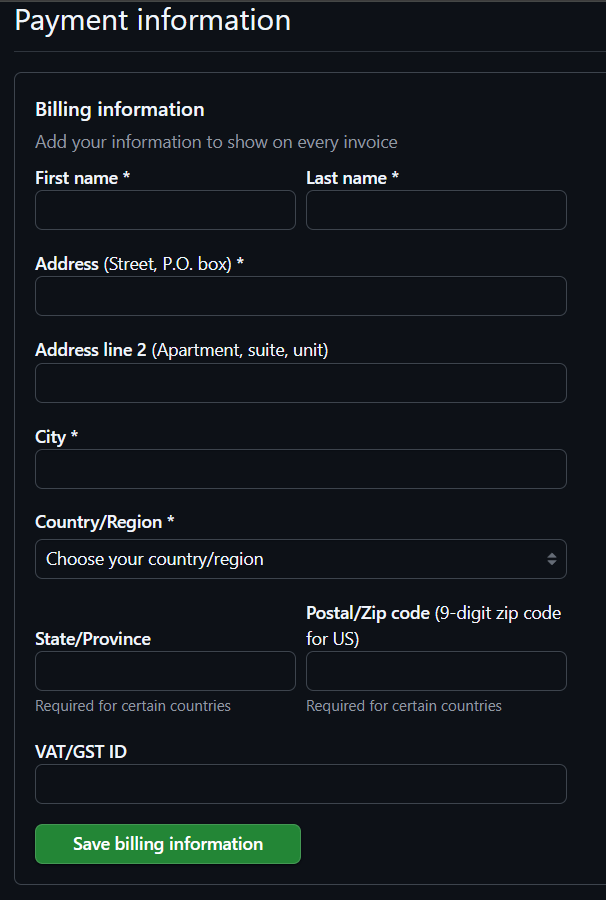
- Click on
Save billing informationto save.
- Enable Two-Factor Authentication (2FA). You can skip this step if you have already done so.
- Go to the Two-factor authentication page for your GitHub account.
- Click on
Enable two-factor authentication. - Open the Microsoft Authenticator App on your phone.
- Tap the scan QR code button at the bottom right.

- Scan the QR code displayed on the GitHub page.
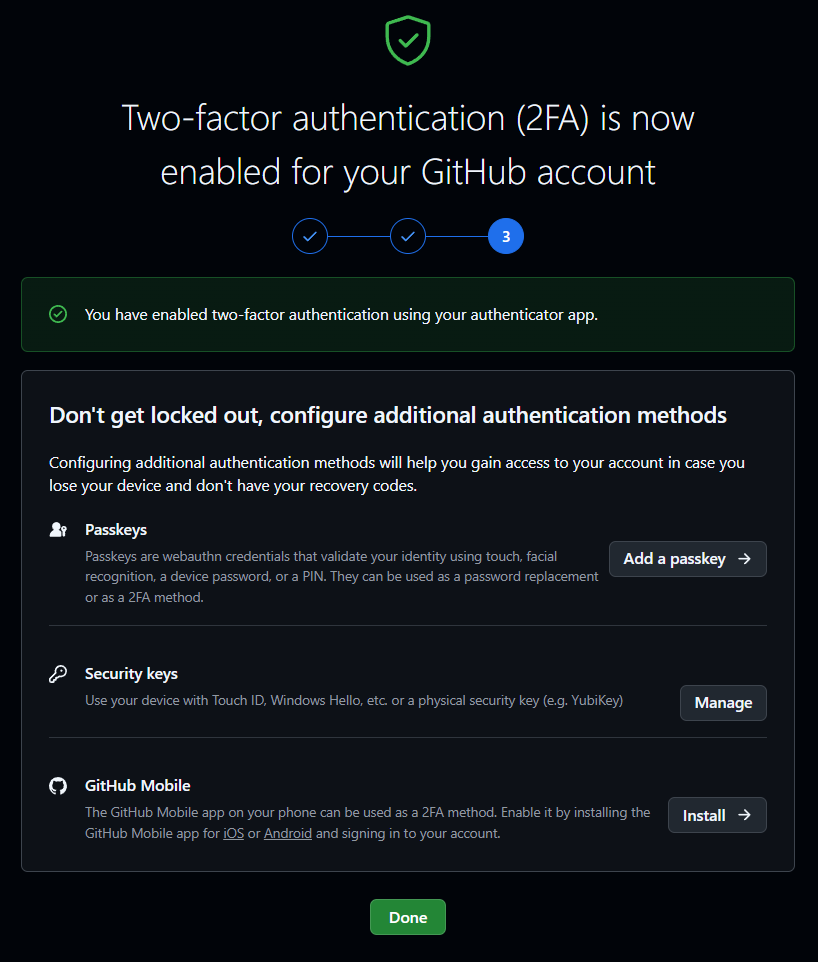
- Complete the remaining setup steps.
- You should see the following page when 2FA is enabled.
- Link your university email to GitHub (for Education benefits).
- Go to the emails settings page in GitHub account.
- Add your university-issued email under the
Add email addressfield. - Verify your email using the link sent to your inbox.
- Once verified, you will see your school email in the list of emails.
- Apply for GitHub Education benefits
- Go to the GitHub Education page.
- Click on
Start an application. - Select your role as
Student. - Choose university as your school (e.g., National University of Singapore).
- Follow the instructions and complete the application form.
- Once your application is approved, it will show that you have a current student coupon applied.
Contributors: Norbert Loh (@NorbertLoh )
Issue Creation
- Go to your GitHub repository and create a new issue.
- Click on
Write with Copilot.

- You'll be redirected to Copilot Chat within GitHub, where you can describe your issue.
- Use the Attach button to link the relevant repository and provide more context to Copilot.
- Describe your issue and ask Copilot to generate a checklist. For example:
Fix the bug where the UI overflows when the number is too long, and include a checklist to ensure the bug is resolved.

- Copilot will generate a structured issue, including a description, steps to reproduce, expected behavior, and a checklist.

- Click on
Createto submit the issue.Define a standard issue format for your team to ensure consistency across all issues.
Pull Request Creation Summary
- Go to your GitHub repository and create a new pull request.
- Click on the Copilot icon, then select
Summary.

- Copilot will generate a summary of the changes included in the pull request.
- You can edit or add more details to the summary before submitting, if needed.
Pull Request Review
- Open the pull request you want to review.
- Hover over the specific line of code where you need assistance, then click on the Copilot icon.

- A Copilot chat window will appear, allowing you to ask questions such as:
How can I improve this line of code? - Use Copilot's suggestions to enhance your code review comments or make direct improvements.
Copilot is a helpful assistant, but not a full replacement for human code reviews. You will still need to identify potential issues before asking Copilot for suggestions.
Contributors: Norbert Loh (@NorbertLoh )