Guides for SE student projects »
Intellij IDEA: Importing a Gradle project
If the project comes with Gradle support, you will see a build.gradle file in your project root.
IntelliJ IDEA has the Gradle plugin installed by default. If you have disabled it, go to File → Settings → Plugins to re-enable it.
If your project involves GUI programming, similarly ensure the JavaFX plugin has not been disabled.
- Open Intellij.
- If you are in the welcome screen, Click
Open. Otherwise, clickFile->Open.
i. Select the project directory, and clickOK.
ii. If there are any further prompts, accept the defaults but do ensure that the selected version ofGradle JVMmatches the JDK being used for the project. - Confirm the correct Java version is being used for Gradle, as follows:
(a) Confirm the project JDK is set to the one you are supposed to use for the project, as explained here.
(b) Confirm the correct JVM is used for Gradle, as given in the panel below:
Intellij: Setting the JVM for Gradle
Go to File -> Settings and ensure the Gradle JVM is set as Project SDK ..., so that Gradle will use the same JDK used by the project.
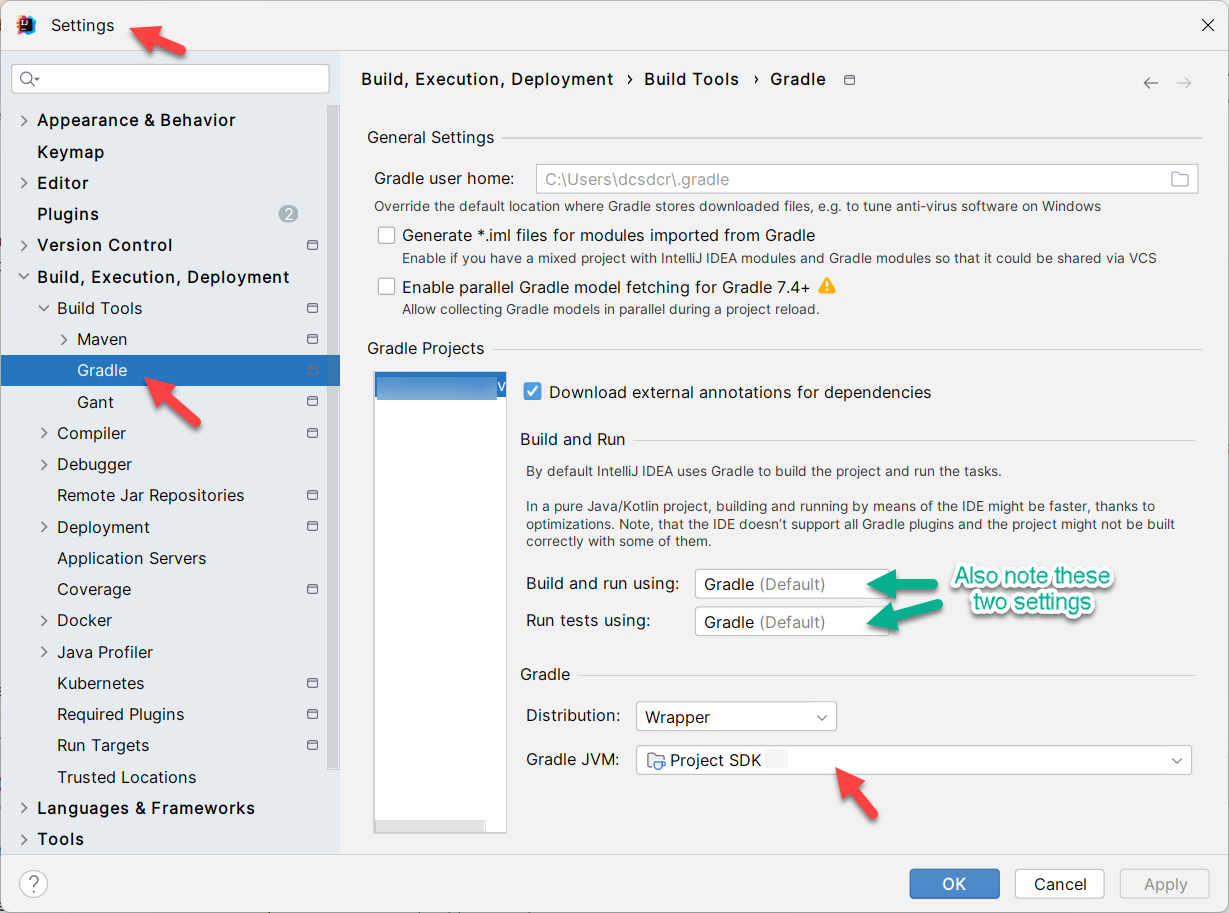
Also take note of the Build and run using: and Run tests using: settings. They are useful if you want to control whether you want Intellij to use Gradle to build/run/test your project.
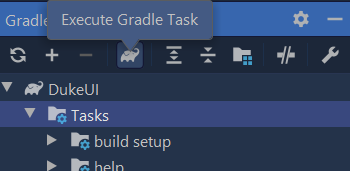
- After the importing of the project is complete (which could take a few minutes), you will see the
Gradle Toolbarin the IDEA interface e.g., look for the elephant icon (on Windows, this appears on the right-edge of the IDE window) and click it.