Guides for SE student projects »
Using Netlify
Netlify is an automated hosting platform for deploying websites. Its deploy previews feature is particularly useful for .
The sections below explain how to use Netlify in a project.
Caution: Netlify allows only 300 free build minutes per month. They use an unsavory practice of letting you exceed the limit silently and then sending you an invoice for the extra use. You will not be able to use Netlify again unless you pay (or get them to cancel the charge). Therefore, we caution you to use Netlify (if at all) during times you update documentation and only if you want to use Netlify Deploy Previews to help review such PRs.
Setting up
Go to https://www.netlify.com/ and click
Sign Up. Next, clickGITHUB SIGN IN, enter your GitHub account details and authorize netlify.After logging in, click
New site from Git.You will then be brought to the setup page. Click
GitHubto link your repository to Netlify.- Depending on whether you are the owner of the repository, you can either grant or request access to Netlify so that it can access your repository and build your documentation.
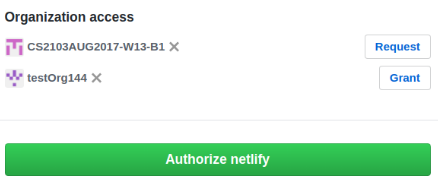
- After granting or requesting access to your repository, click
Authorize netlify.
- Depending on whether you are the owner of the repository, you can either grant or request access to Netlify so that it can access your repository and build your documentation.
Pick your repository from the list.
Fill out the details as follows and then click
Deploy site.- Branch to deploy: select
masterbranch - If using Jekyll for project documentation:
- Build command:
cd docs && bundle install && bundle exec jekyll build - Publish directory:
docs/_site
- Build command:
- If using MarkBind for project documentation:
- Build Command:
cd docs && npm i markbind-cli -g && markbind build --baseUrl - Publish directory:
docs/_site
- Build Command:
For both Jekyll and MarkBind, omit the
cd docs &&anddocs/from the build command and the publish directory respectively if the documentation is in the root (i.e., not inside thedocsfolder).- Branch to deploy: select
Once Netlify has completed building your project, you can now:
- View your main branch’s deployed documentation on the site name given by Netlify (customizable as shown below).
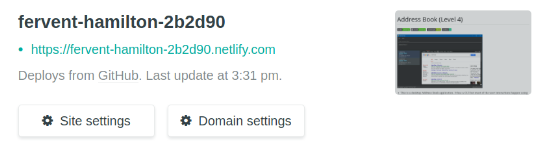
- Preview the updated documentation whenever a pull request is made by clicking the
Detailshyperlink next to the Netlify test status.

- View your main branch’s deployed documentation on the site name given by Netlify (customizable as shown below).
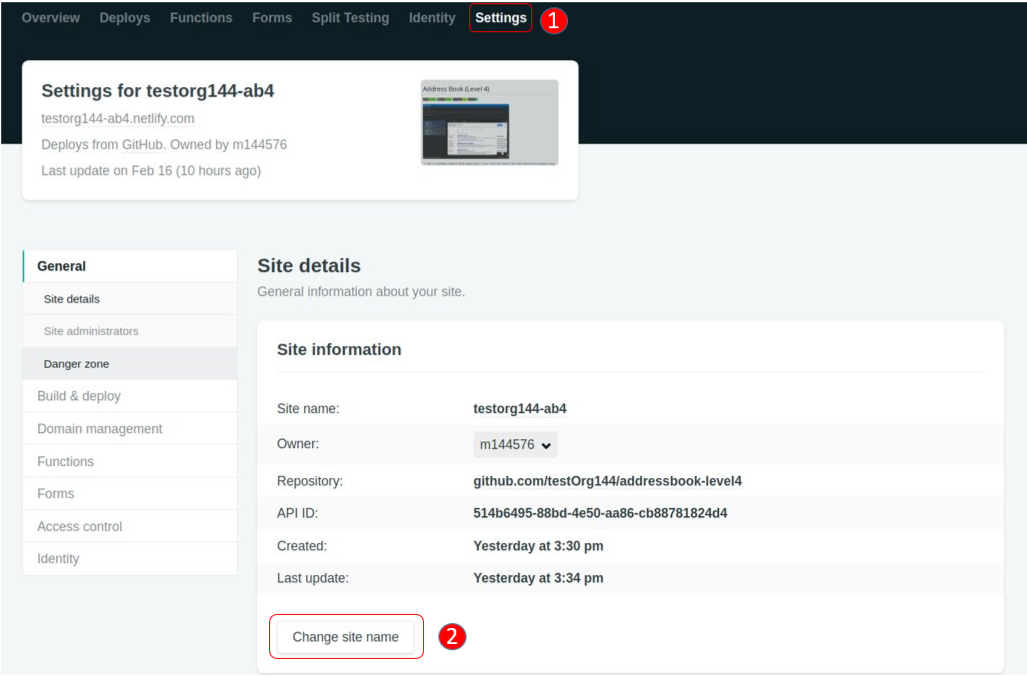
Changing the site name
If you don’t like the site name given by Netlify, you can change it as follows:
Click on
Settings.Then click
Change site nameand fill in your desired site name.