Guides for SE student projects »
This is a WIP community resource, containing contributions from community members.
- If you notice any bugs or have suggestions for improvements, please report at https://github.com/se-edu/guides/issues
- You are welcome to contribute by sending a PR to https://github.com/se-edu/guides/pulls too.
VS Code - Preparing for Java Projects
This tutorial is adapted from the official VS Code Java Tutorial.
This guide will help you set up VS Code for Java development by installing the , VS Code and the necessary extensions.
Install Java Development Kit (JDK)
Before you can develop Java applications, you need to have a JDK installed.
Check out our Java Installation guide for detailed installation and setup instructions for Windows, macOS, and Linux.
If VS Code does not detect your JDK after installation, try restarting VS Code or manually setting the JAVA_HOME environment variable.
Install VS Code
- Visit the official VS Code website: https://code.visualstudio.com/
- Click the "Download" button - The website will automatically detect your operating system
- Refer to the official VS Code Setup Overview for system-specific installation instructions.
Launch VS Code from the command line
You can quickly open a file or folder in VS Code by typing code <path> in your terminal or command prompt. For example, code . opens the folder you are currently in, inside VS Code.
- macOS users must first run the command
Shell Command: Install 'code' command in PATHfrom the Command Palette /Ctrl+Shift+P|Cmd+Shift+Pand restart the terminal to enable this feature. See the macOS setup guide for details. - Windows and Linux installations should add the
codecommand to your system path automatically.
For more command line options and tips, see the official VS Code Command Line Interface guide.
First time using VS Code?
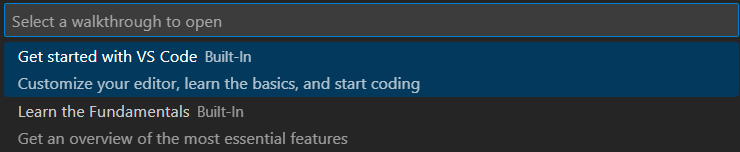
Take a few minutes to explore the interface and try the built-in tutorials by opening the Command Palette: / Ctrl+Shift+P | Cmd+Shift+P and typing Welcome: Open Walkthrough, then executing it: / Enter | Return.

After executing the command, you will see a dropdown of VS Code walkthroughs. You can select any of them to start learning.
You can also see the official VS Code Getting Started guide for a fuller tutorial.
Install the Extension Pack for Java
VS Code uses extensions to add programming language support and development tools. An extension pack is a bundle that contains multiple related extensions, making it easy to install everything you need for a specific programming language with just one click.
The Extension Pack for Java is Microsoft's official bundle that includes all the essential extensions for Java development. Instead of installing each extension individually, you can simply install this pack to get everything you need for Java development in VS Code. Among others, it includes the following extensions:
Installation steps
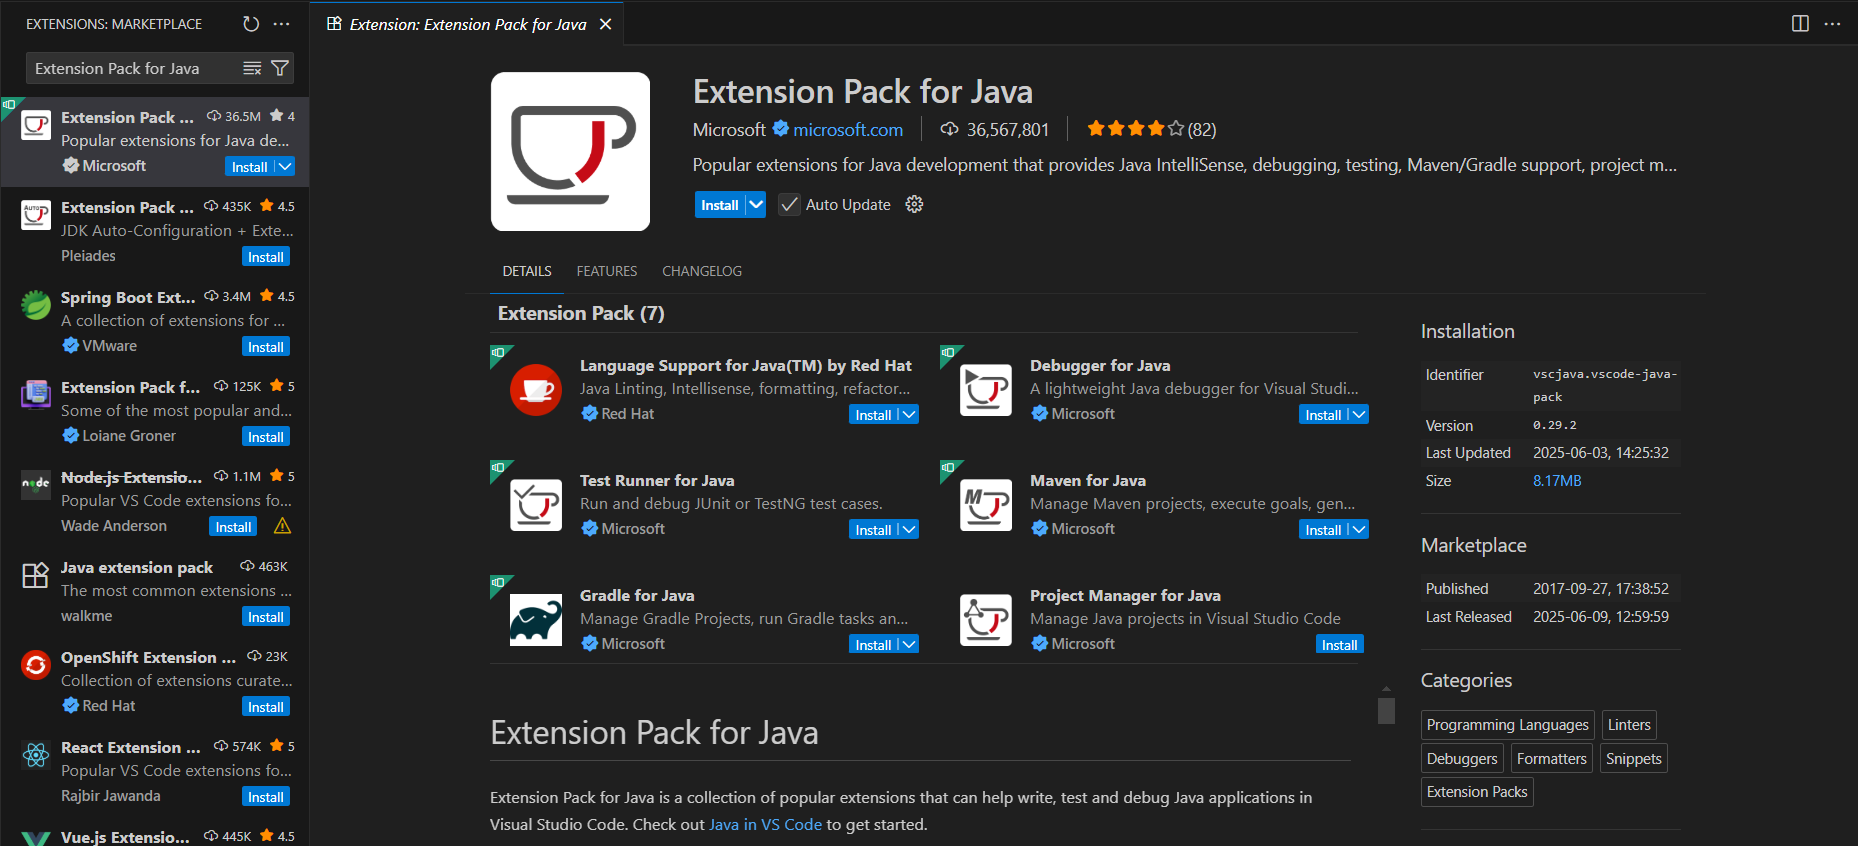
- Open the Extensions View: /
Ctrl+Shift+X|Cmd+Shift+X - Search for
Extension Pack for Java - Click
Installon the extension by Microsoft
Ensure that the publisher is Microsoft. Other similarly named extensions and extension packs may appear but they may not include all the required extensions.
Verify installation
To verify that the Extension Pack for Java was installed correctly, open the Command Palette: / Ctrl+Shift+P | Cmd+Shift+P and type Java: to see available commands.
If you do not see any Java commands, make sure the Extension Pack was installed correctly and try reloading VS Code (Open the Command Palette: / Ctrl+Shift+P | Cmd+Shift+P, then type and select Developer: Reload Window)
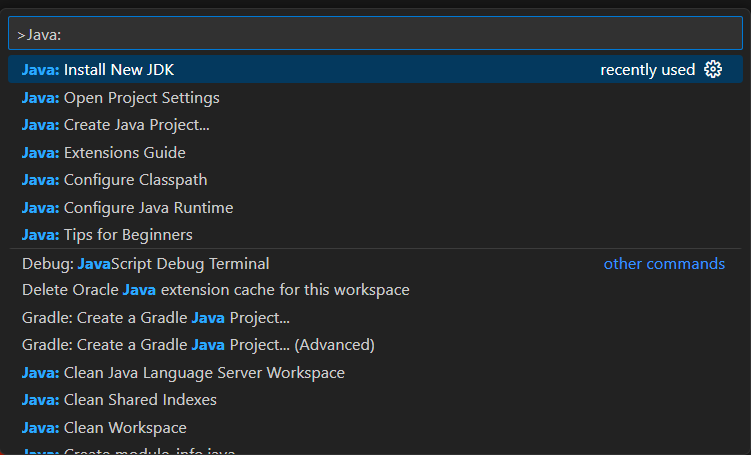
After installation, VS Code Command Palette: / Ctrl+Shift+P | Cmd+Shift+P also offers a Java: Install New JDK command to install and configure JDK versions through its integrated tools. However, we recommend following our Java Installation guide to install the JDK separately.
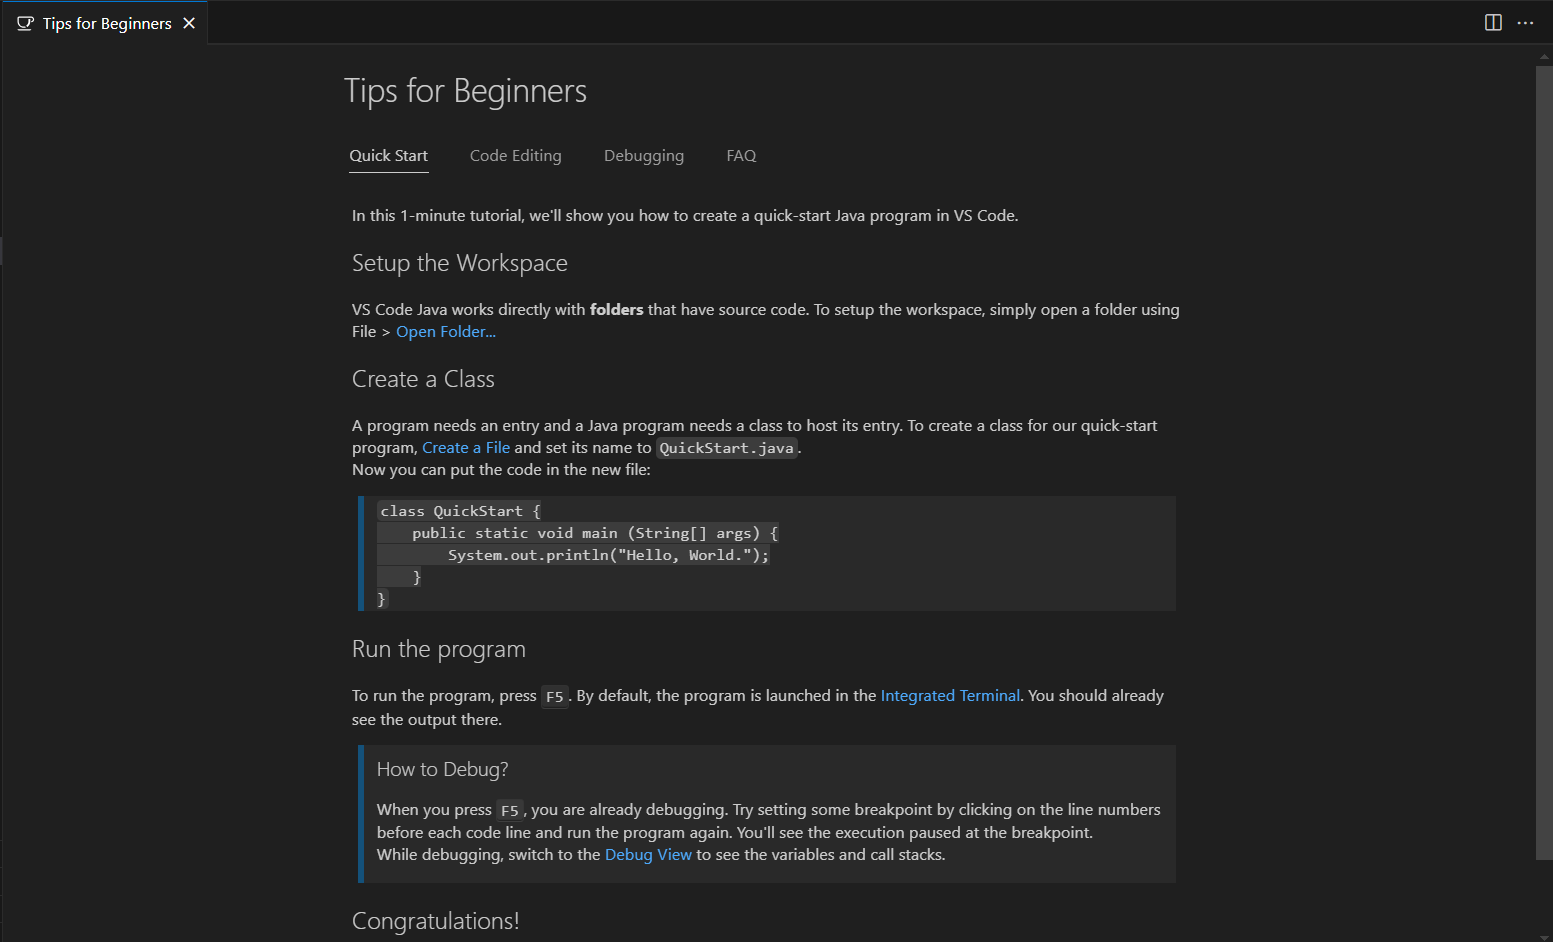
After installation, open the Command Palette: / Ctrl+Shift+P | Cmd+Shift+P, type Java: Tips for Beginners and open it for helpful information to get started.

Contributors: John Wong (@Johnwz123)