Guides for SE student projects »
JavaFX tutorial part 3 – Interacting with the user
In part 2, we achieved the desired layout. Now let’s make the application respond to user input. Rather than doing everything in one try, let’s iterate and build up towards our final goal.
But first, here's some useful background info on how JavaFX deals with user interactions (e.g., a button click):
JavaFX works in an event-driven style -- that is, we programmatically define handler methods to execute as a response to certain events.
"Events" are represented as objects of the Event class. Two of the most commonly used subclasses are ActionEvent (e.g., a button press) and InputEvent (e.g., a mouse click).
All UI components have a set of set-handler-for-event methods to define handlers with respect to different events, which takes a handler method as the argument. Some of these methods are unique to the component, but most are inherited from the parent classes Node, Control, etc.
For example, the Button class inherits from parent ButtonBase and from Node.
When an event is detected, JavaFX will call the respective handlers that was previously 'set' for that event.
Iteration 1 – Echoing the user
For Duke, there are two events that we want to respond to, namely the user pressing Enter key in the text box and clicking the Send button. These map to the onAction event for the TextField and the onMouseClicked event for the Button, respectively.
First, let's delete the following two lines that show a dialog box by default:
@Override
public void start(Stage stage) {
//Setting up required components
// ...
DialogBox dialogBox = new DialogBox("Hello!", userImage);
dialogContainer.getChildren().addAll(dialogBox);
// ...
//Formatting the window to look as expected
//...
}
Then, add the following code:
@Override
public void start(Stage stage) {
//Setting up required components
//...
//Formatting the window to look as expected
//...
//Handling user input
sendButton.setOnMouseClicked((event) -> {
handleUserInput();
});
userInput.setOnAction((event) -> {
handleUserInput();
});
}
/**
* Creates a dialog box containing user input, and appends it to
* the dialog container. Clears the user input after processing.
*/
private void handleUserInput() {
dialogContainer.getChildren().addAll(new DialogBox(userInput.getText(), userImage));
userInput.clear();
}
Run the program and give it a whirl! Ensure the GUI responds correctly to both ways of input i.e., hitting Enter after text entry, and hitting the Send button after text entry.

At first glance everything appears to work perfectly. Keep entering more text entries (or longer text entries) until the visible area fills up. You'll notice that when the chat entries fill up beyond ScrollPane's display area, it does not scroll down automatically to show the latest entry, as expected. We can remedy this by attaching a handler on the VBox to react to its own size changing and scrolling the ScrollPane down.
Update the Main#start method as shown below:
@Override
public void start(Stage stage) {
// current code ...
//Scroll down to the end every time dialogContainer's height changes.
dialogContainer.heightProperty().addListener((observable) -> scrollPane.setVvalue(1.0));
}
Verify that the ScrollPane now scrolls as intended.
Iteration 2 – Adding dialog boxes for Duke's response
The next step is to enable Duke to respond to sent messages. On top of showing what the user sent, we need to take the response generated by the program and pass it to the UI components.
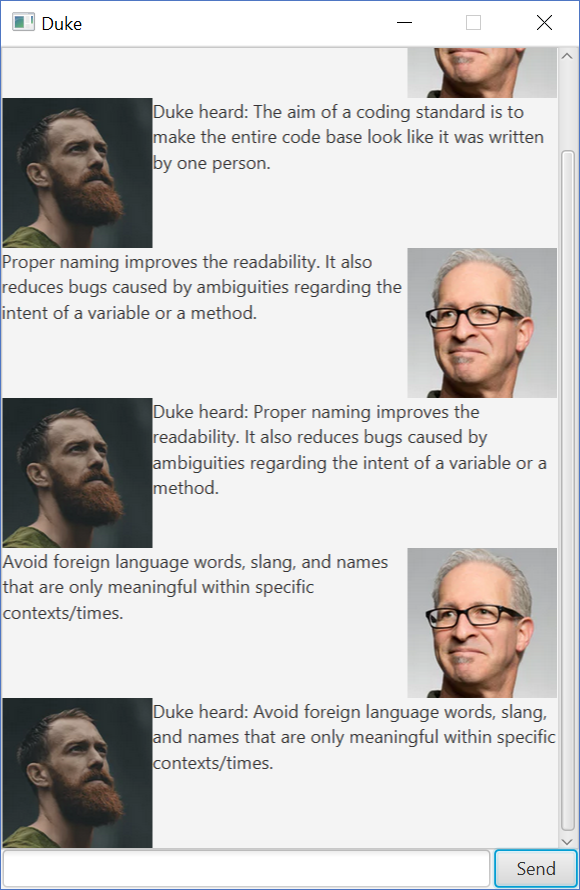
Now, let's add a method to Duke.java, to generate responses for user messages. For the time being, let's keep the logic simple: Duke simply echos the user input, with the prefix Duke heard: .
public class Duke {
public static void main(String[] args) {
System.out.println("Hello!");
}
/**
* Generates a response for the user's chat message.
*/
public String getResponse(String input) {
return "Duke heard: " + input;
}
}
Next, let's create an instance of this Duke object in the Main class (to be used for generating responses to user input).
//imports...
public class Main extends Application {
//other variables
private Image userImage = new Image(this.getClass().getResourceAsStream("/images/DaUser.png"));
private Image dukeImage = new Image(this.getClass().getResourceAsStream("/images/DaDuke.png"));
private Duke duke = new Duke();
//...
}
Now, we can update the handleUserInput() method as follows, to generate the response using the duke object.
private void handleUserInput() {
String userText = userInput.getText();
String dukeText = duke.getResponse(userInput.getText());
dialogContainer.getChildren().addAll(
new DialogBox(userText, userImage),
new DialogBox(dukeText, dukeImage)
);
userInput.clear();
}
Run the program and see how it works.

Iteration 3 – Adding custom behavior to DialogBox
One additional benefit of defining a custom control is that we can add behavior specific to our DialogBox. Let’s add a method to flip a dialog box such that it appears on the left edge, to differentiate between user input and Duke’s output.
import javafx.collections.FXCollections;
import javafx.collections.ObservableList;
import javafx.scene.Node;
//previous imports
//...
/**
* Flips the dialog box such that the ImageView is on the left and text on the right.
*/
private void flip() {
this.setAlignment(Pos.TOP_LEFT);
ObservableList<Node> tmp = FXCollections.observableArrayList(this.getChildren());
FXCollections.reverse(tmp);
this.getChildren().setAll(tmp);
}
public static DialogBox getUserDialog(String s, Image i) {
return new DialogBox(s, i);
}
public static DialogBox getDukeDialog(String s, Image i) {
var db = new DialogBox(s, i);
db.flip();
return db;
}
//...
Now, we can go back to the Main class and change the event handler to use our new ways of creating DialogBox instances.
private void handleUserInput() {
String userText = userInput.getText();
String dukeText = duke.getResponse(userInput.getText());
dialogContainer.getChildren().addAll(
DialogBox.getUserDialog(userText, userImage),
DialogBox.getDukeDialog(dukeText, dukeImage)
);
userInput.clear();
}
Run the application and play around with it.
Congratulations! You have successfully implemented a fully functional GUI for Duke! But there's more. Continue to the next section to find out.
Previous | ToC | What's next? JavaFX tutorial part 4 - Using FXML
Authors:
- Initial Version: Jeffry Lum