Guides for SE student projects »
This is a WIP community resource, containing contributions from community members.
- If you notice any bugs or have suggestions for improvements, please report at https://github.com/se-edu/guides/issues
- You are welcome to contribute by sending a PR to https://github.com/se-edu/guides/pulls too.
VS Code - Importing a Gradle project
This tutorial is adapted from the official VS Code Java tutorial for Gradle build tool.
This guide will help you import and work with existing Gradle projects in VS Code.
If you are new to working with Gradle in VS Code, we recommend watching the video below for an introduction to the features of VS Code Gradle extension.
To recall how to use a specific feature, you can refer to the sections below.
Prerequisites
Ensure you have followed our guide on Preparing VS Code for Java.
The Extension Pack for Java includes the Gradle for Java extension, which provides Gradle support in VS Code.
Verify the project has support for Gradle. If it does, there should be a build.gradle file in your project root.
Importing an existing Gradle project
Step 1: Open the project folder
- Open VS Code
- Select
File→Open Folder... - Navigate to your existing Gradle project folder
- Click "Select Folder" to open it as a workspace
Step 2: Let VS Code detect the project
- VS Code will automatically detect the Java and Gradle files and set up the workspace
- Wait for the Java Language Server and Gradle Build Server to initialize (progress shown in status bar)
- Check the status bar at the bottom for any initialization messages
Step 3: Configure your JDK
If you already have Java installed, VS Code should automatically detect and configure it when you create your project.
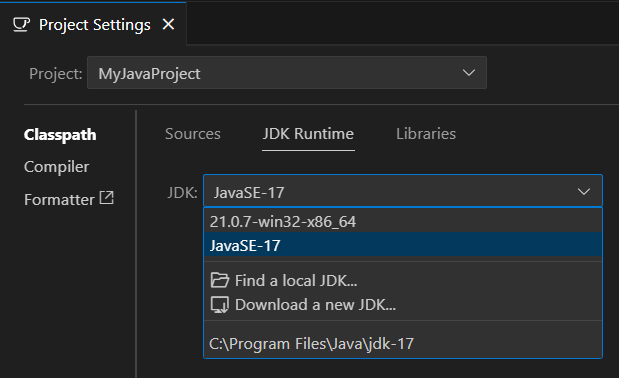
After creating your project, you may need to verify and configure VS Code to use the correct JDK version.
- Open the Command Palette: /
Ctrl+Shift+P|Cmd+Shift+P - Type
Java: Configure Java Runtimeand select it - Verify your JDK appears in the dropdown list and is selected
- Select the appropriate JDK if you have multiple versions installed
If no JDK options appear, try reloading VS Code (Open the Command Palette: / Ctrl+Shift+P | Cmd+Shift+P, then type and select Developer: Reload Window) and ensure your JDK is properly installed and added to your system’s PATH or select "Find a local JDK" to locate the installed JDK in your file system.
Check that the JDK version matches the one required for your project, as specified in the build.gradle file. If you have not yet installed the required JDK, check out our Java Installation guide for detailed installation and setup instructions for Windows, macOS, and Linux.
You may also need to verify and configure the Gradle Build Server to use the correct JVM.
- Open the project's
.vscode/settings.jsonfile. Create the file if it does not exist yet.- To configure the following settings globally, open VS Code's
settings.jsonfile instead. You can find it by opening the Command Palette (/Ctrl+Shift+P|Cmd+Shift+P), then typingPreferences: Open User Settings (JSON).
- To configure the following settings globally, open VS Code's
- Add or modify the following settings to configure the JVM for Gradle. Here's an example for Mac (Replace the JDK name and path as necessary):settings.json
{ "java.configuration.runtimes": [ { "name": "JavaSE-17", "path": "/Library/Java/JavaVirtualMachines/zulu-17.jdk/Contents/Home" } ], "java.import.gradle.java.home": "/Library/Java/JavaVirtualMachines/zulu-11.jdk/Contents/Home" }
Step 4: Verify project configuration
After the project loads:
- Check syntax highlighting - Java files should have proper syntax highlighting
- Test IntelliSense - Try typing in a Java file to see if code completion works
- Look for error indicators - VS Code will underline syntax errors in red
If Java features like syntax highlighting or IntelliSense are not working, ensure the Java Extension Pack is installed and VS Code has fully initialized.
Confirm you can access the Gradle tool window. After the importing of the project is complete (which could take a few minutes), you will see the Gradle Tab in the VS Code interface (Look for the elephant icon on the left and click it).
If the Gradle icon doesn't appear after restarting VS Code, add "gradle.nestedProjects": true to your settings.json file.
Gradle Tasks
You can access useful Gradle views from the Gradle side bar. The Gradle Projects view lists all detected Gradle projects in your workspace, allowing you to view, run, or debug any Gradle task.
If your workspace contains many Gradle tasks, you can pin tasks to easily find your frequently used tasks. You can also check the Recent Tasks view to quickly find and rerun tasks you've recently executed.
Testing
You need to have installed the Test Runner for Java extension for this feature. It should have been installed with the Extension Pack for Java.
You can run your tests using Gradle directly from VS Code. In the Testing Explorer, you can select which test profile to use and configure tests to be executed through Gradle.
Editing build files
The Gradle extension provides useful features for editing your Gradle build files in VS Code.
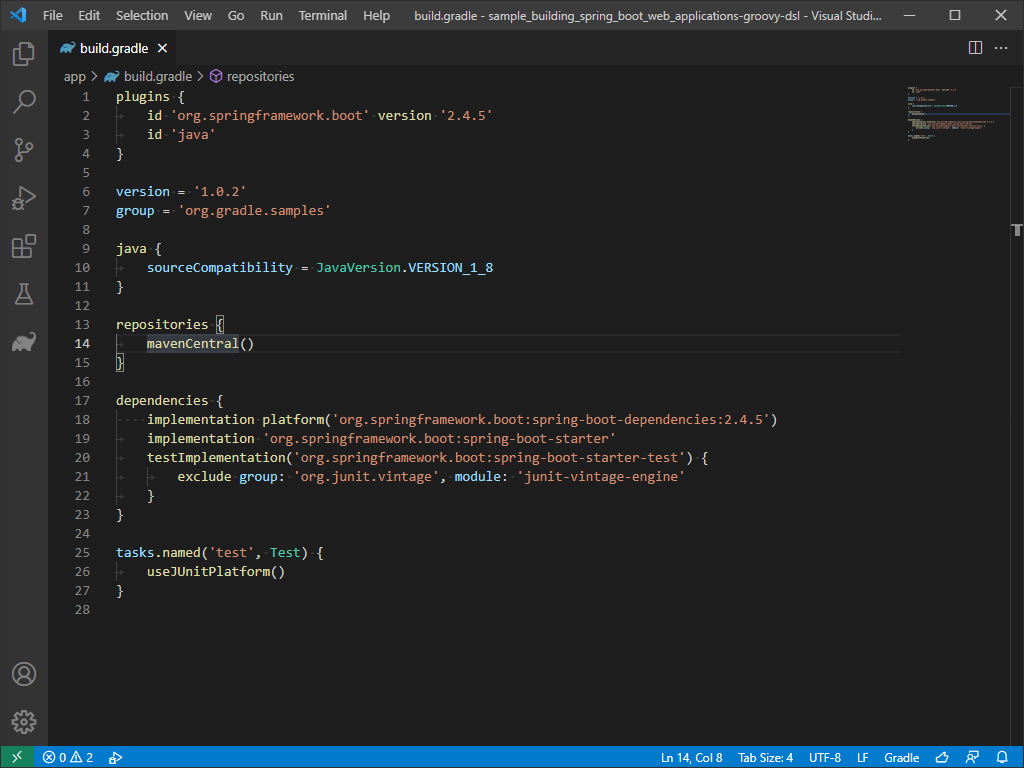
Syntax Highlighting
The Gradle extension analyzes the opened Gradle file and provides enhanced syntax highlighting.
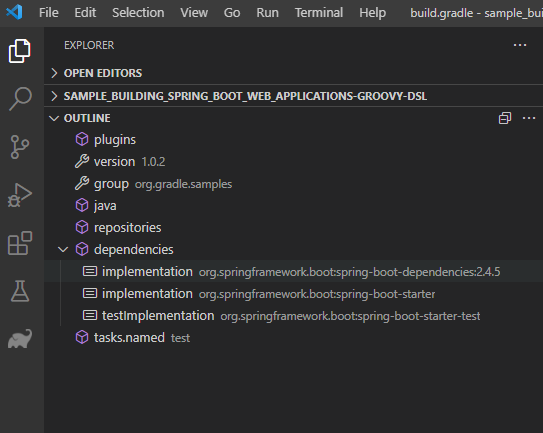
Outline view
The Outline view displays document symbols for the opened Gradle file, making it easy to navigate to different sections.
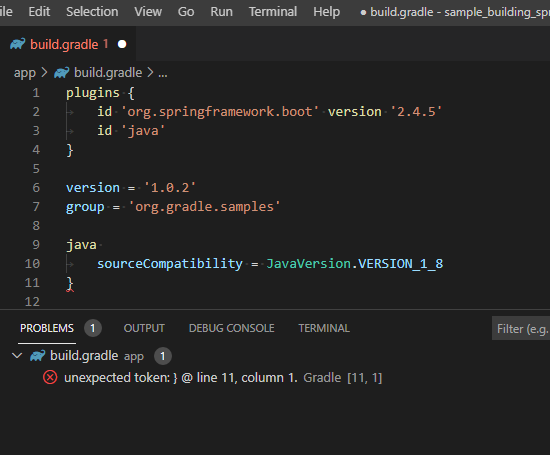
Problems view
The Problems view shows any syntax errors in the opened Gradle file for quick troubleshooting.
Autocompletion
The Gradle extension supports basic autocompletion.
As you type Gradle closures or properties, the extension will suggest available options.
When adding a new dependency, the Gradle extension provides a list of suggested dependencies to choose from.
Contributors: Rui Shan (@ruishanteo), John Wong (@Johnwz123)