Guides for SE student projects »
This is a WIP community resource, containing contributions from community members.
- If you notice any bugs or have suggestions for improvements, please report at https://github.com/se-edu/guides/issues
- You are welcome to contribute by sending a PR to https://github.com/se-edu/guides/pulls too.
VS Code - Testing with JUnit
This tutorial covers the basics of using VS Code’s JUnit.
Prerequisites
Ensure you have followed our guide on Preparing VS Code for Java.
As JUnit is a third-party library, you need to add support for it in your project. Here is how you can do that using . While it is possible to add JUnit to your project without Gradle, we strongly recommend using Gradle as it can make things easier in the long run.
If you have not done that yet, follow the Gradle Tutorial to add Gradle support to the project first.
This tutorial assumes you are using Gradle to manage JUnit.
Configuring Gradle for JUnit
Update the build.gradle file to include JUnit as a dependency. Here are the relevant lines that needs to be in the build.gradle (change the version number as necessary):
First, ensure the Java plugin is included:
plugins {
id 'java'
}
Next add the following JUnit dependencies to the dependencies block, to tell which JUnit libraries to be used:
dependencies {
testImplementation group: 'org.junit.jupiter', name: 'junit-jupiter-api', version: '5.10.0'
testRuntimeOnly group: 'org.junit.jupiter', name: 'junit-jupiter-engine', version: '5.10.0'
}
Finally, tell Gradle that JUnit is to be used as the testing tool (and to configure a few aspects of how Gradle handles JUnit tests), as follows:
test {
useJUnitPlatform()
testLogging {
events "passed", "skipped", "failed"
showExceptions true
exceptionFormat "full"
showCauses true
showStackTraces true
showStandardStreams = false
}
}
Restart VSCode after updating the build.gradle file, to ensure the changes take effect.
Conventions to Follow
Here are the conventions to follow, when using JUnit in a Gradle project:
- Add test code in a folder named
[project root]\src\test\java\folder. - Name the test class to match the class being tested (
Todo.javacan be tested byTodoTest.java), and put it in a package to match (reason: if packages are matched, the test class can access package-private members of the target class).
For example,- Class being tested
seedu.duke.Todo:src\main\java\seedu\duke\Todo.java - Test class
seedu.duke.TodoTest:src\test\java\seedu\duke\TodoTest.java
- Class being tested
Writing the First JUnit Test
Add a test class, while following the conventions given earlier in this page. If you don't follow those conventions, Gradle will not be able to find your test class. For example, if you have a class src\main\java\seedu\duke\Todo.java, you can add a test class src\test\java\seedu\duke\TodoTest.java. Here's some sample code:
package seedu.duke; //same package as the class being tested
import org.junit.jupiter.api.Test;
import static org.junit.jupiter.api.Assertions.assertEquals;
public class DukeTest {
@Test
public void dummyTest(){
assertEquals(2, 2);
}
@Test
public void anotherDummyTest(){
assertEquals(4, 4);
}
}
VS Code Java extension helps generate test method skeletons. Right-click in your Java file and click on Source Action..., then choose Generate Tests....
- If triggered from a main class file, VS Code prompts you to choose methods to test. It generates skeleton test methods which you can fill in.
- If triggered from a test file, it offers options to choose the types of test methods to add, including lifecycle methods and standard test methods.
Running Tests
Using VS Code:
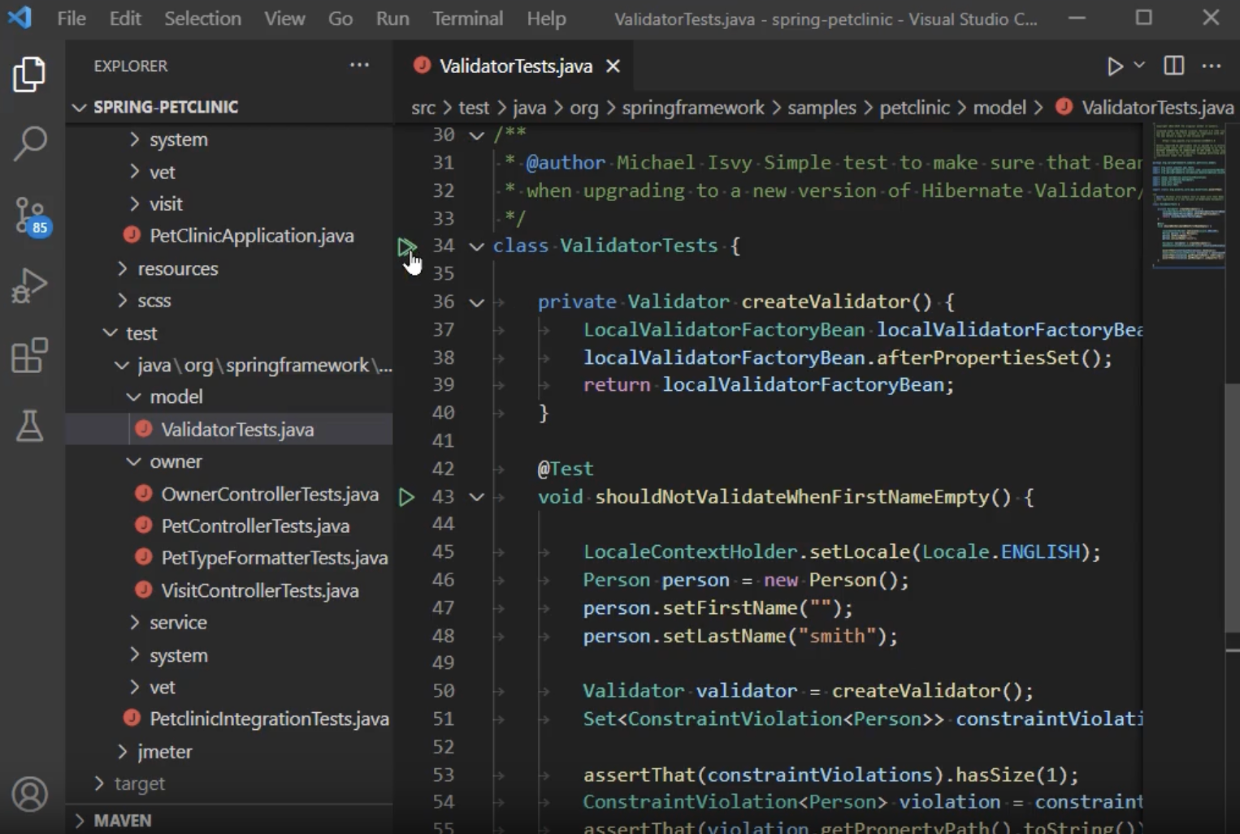
- Use the green play button next to the class or method to run tests.
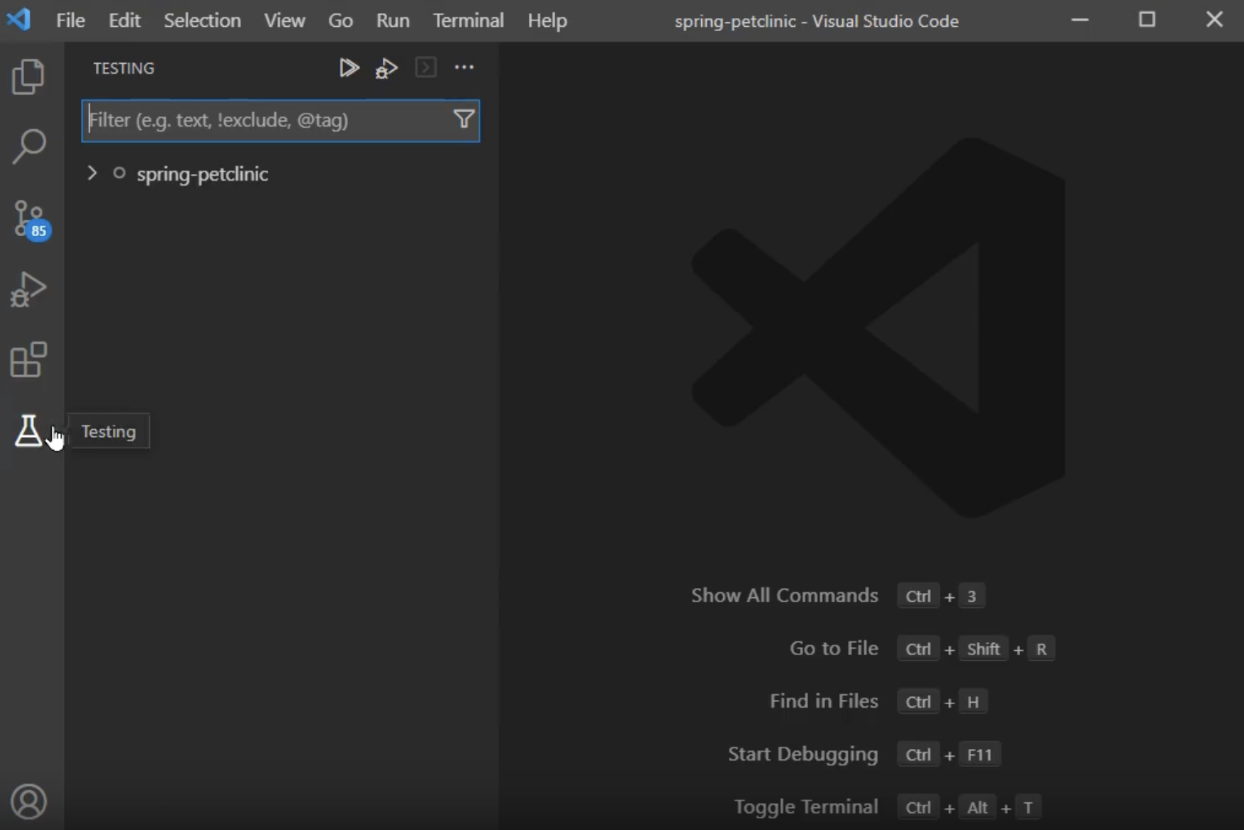
- The Testing Explorer is a tree view to show all the test cases in your workspace.
Open the Testing Explorer by clicking the beaker icon in the left Activity Bar. You can run/debug tests and view their results from there as well.
Checking Test Coverage
- Right-click on the test and choose
Run with Coverage. - After the test runs, covered code is highlighted in light blue in the source files.
Writing Useful JUnit Tests
After you are able to run JUnit tests successfully using a dummy test class such as the above, you can add more tests and test classes as necessary.
To learn how to write useful JUnit test cases, refer to this section of our SE book. For a quick overview of more advanced JUnit features, refer to this section.
Troubleshooting JUnit
- Problem: Tests fail with at
ClassNotFoundExceptionerror, although the supposedly-missing class is present.
Solution: Ensure the path of source and test files does not have Unicode characters (e.g., Chinese characters). Gradle sometimes fail to find files in a path that has Unicode characters.
Contributors: Song Yuexi (@YosieSYX)