To work in parallel timelines, you can use Git branches.
Git branches let you develop multiple versions of your work in parallel — effectively creating diverged timelines of your repository’s history. For example, one team member can create a new branch to experiment with a change, while the rest of the team continues working on another branch. Branches can have meaningful names, such as master, release, or draft.
A Git branch is simply a ref (a named label) that points to a commit and automatically moves forward as you add new commits to that branch. As you’ve seen before, the HEAD ref indicates which branch you’re currently working on, by pointing to corresponding branch ref.
When you add a commit, it goes into the branch you are currently on, and the branch ref (together with the HEAD ref) moves to the new commit.
Git creates a branch named master by default (Git can be configured to use a different name e.g., main).
Given below is an illustration of how branch refs move as branches evolve. Refer to the text below it for explanations of each stage.
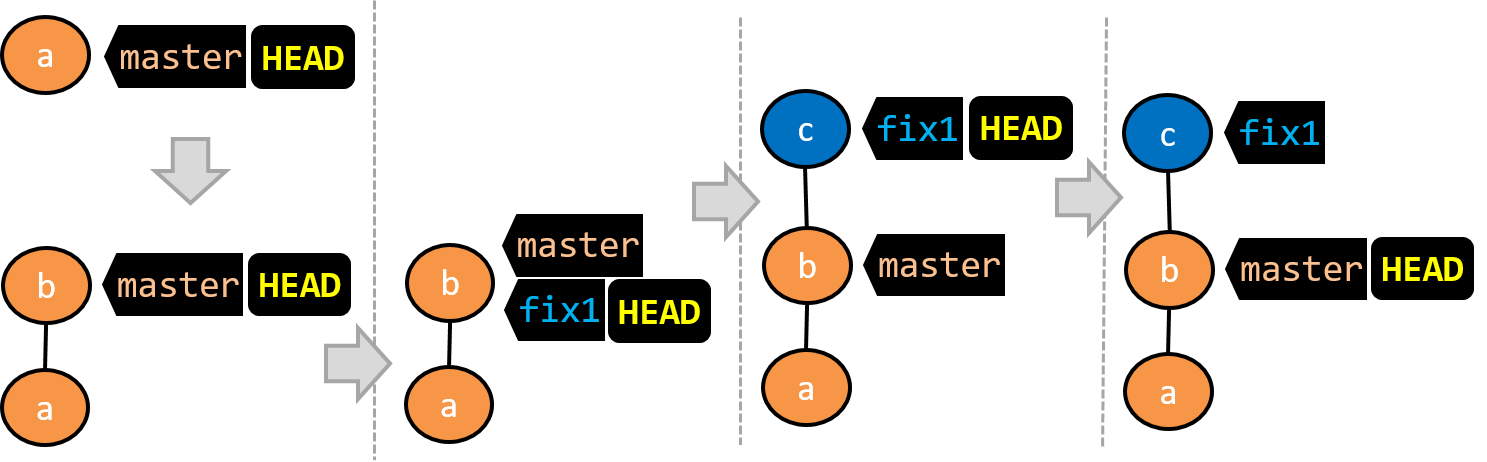
- There is only one branch (i.e.,
master) and there is only one commit on it. TheHEADref is pointing to themasterbranch (as we are currently on that branch). - A new commit has been added. The
masterand theHEADrefs have moved to the new commit. - A new branch
fix1has been added. The repo has switched to the new branch too (hence, theHEADref is attached to thefix1branch). - A new commit (
c) has been added. The current branch reffix1moves to the new commit, together with theHEADref. - The repo has switched back to the
masterbranch. Hence, theHEADhas moved back tomasterbranch's .
At this point, the repo's working directory reflects the code at commitb(notc).
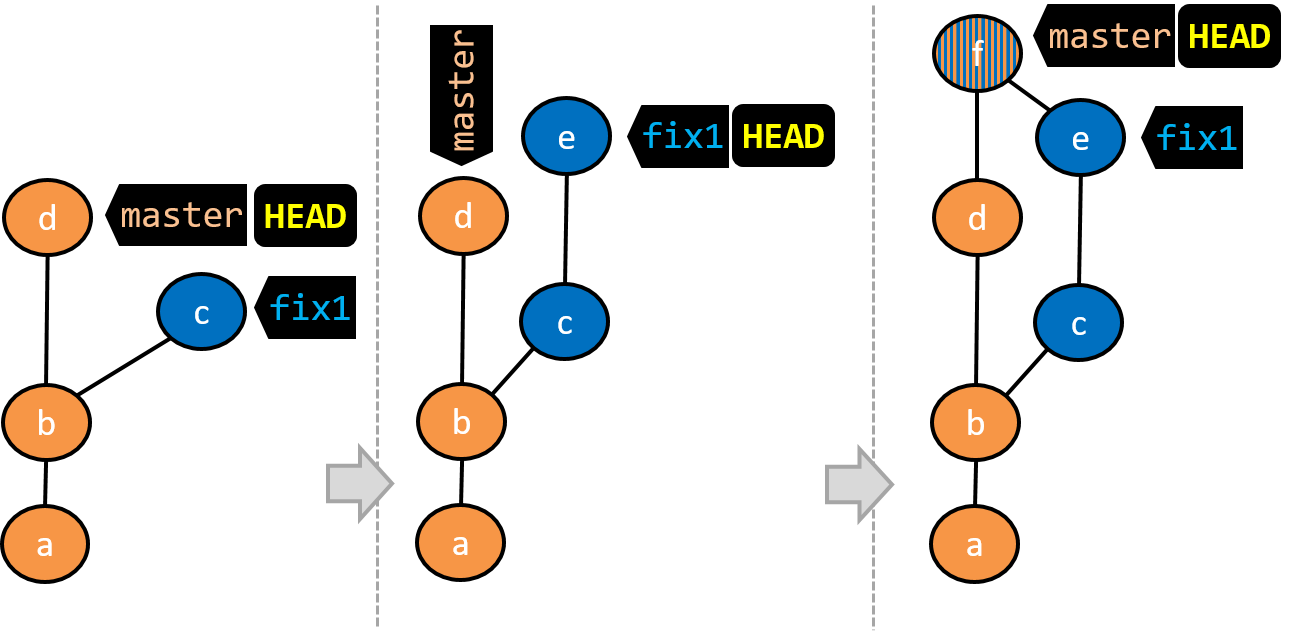
- A new commit (
d) has been added. Themasterand theHEADrefs have moved to that commit. - The repo has switched back to the
fix1branch and added a new commit (e) to it.
Note that appearance of the revision graph (colors, positioning, orientation etc.) varies based on the Git client you use, and might not match the exact diagrams given above.
1 Fork the samplerepo-things repo, and clone it onto your computer.
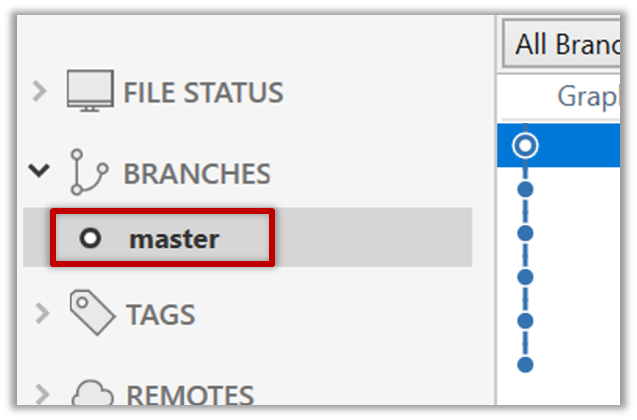
2 Observe that you are in the branch called master.
$ git status
on branch master
3 Start a branch named feature1 and switch to the new branch.
You can use the branch command to create a new branch and the checkout command to switch to a specific branch.
$ git branch feature1
$ git checkout feature1
One-step shortcut to create a branch and switch to it at the same time:
$ git checkout –b feature1
The new switch command
Git recently introduced a switch command that you can use instead of the checkout command given above.
To create a new branch and switch to it:
$ git branch feature1
$ git switch feature1
One-step shortcut (by using -c or --create switch):
$ git switch –c feature1
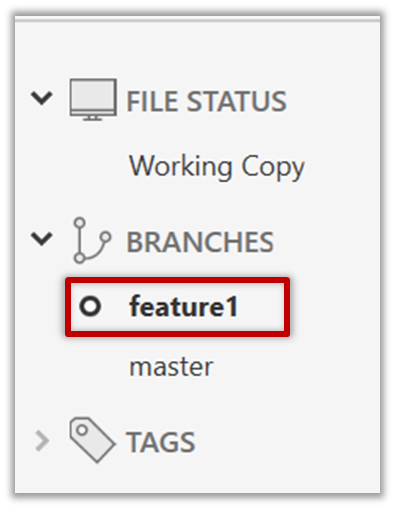
Click on the Branch button on the main menu. In the next dialog, enter the branch name and click Create Branch.

Note how the feature1 is indicated as the current branch (reason: Sourcetree automatically switches to the new branch when you create a new branch, if the Checkout New Branch was selected in the previous dialog).
4 Create some commits in the new branch. Just commit as per normal. Commits you add while on a certain branch will become part of that branch.
Note how the master ref and the HEAD ref moves to the new commit.
As before, you can use the git log --one-line --decorate command for this.
At times, the
HEADref of the local repo is represented as in Sourcetree, as illustrated in the screenshot below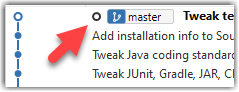 .
.The
HEADref is not shown in the UI if it is already pointing at the active branch.
5 Switch to the master branch. Note how the changes you did in the feature1 branch are no longer in the working directory.
$ git switch master
Double-click the master branch.
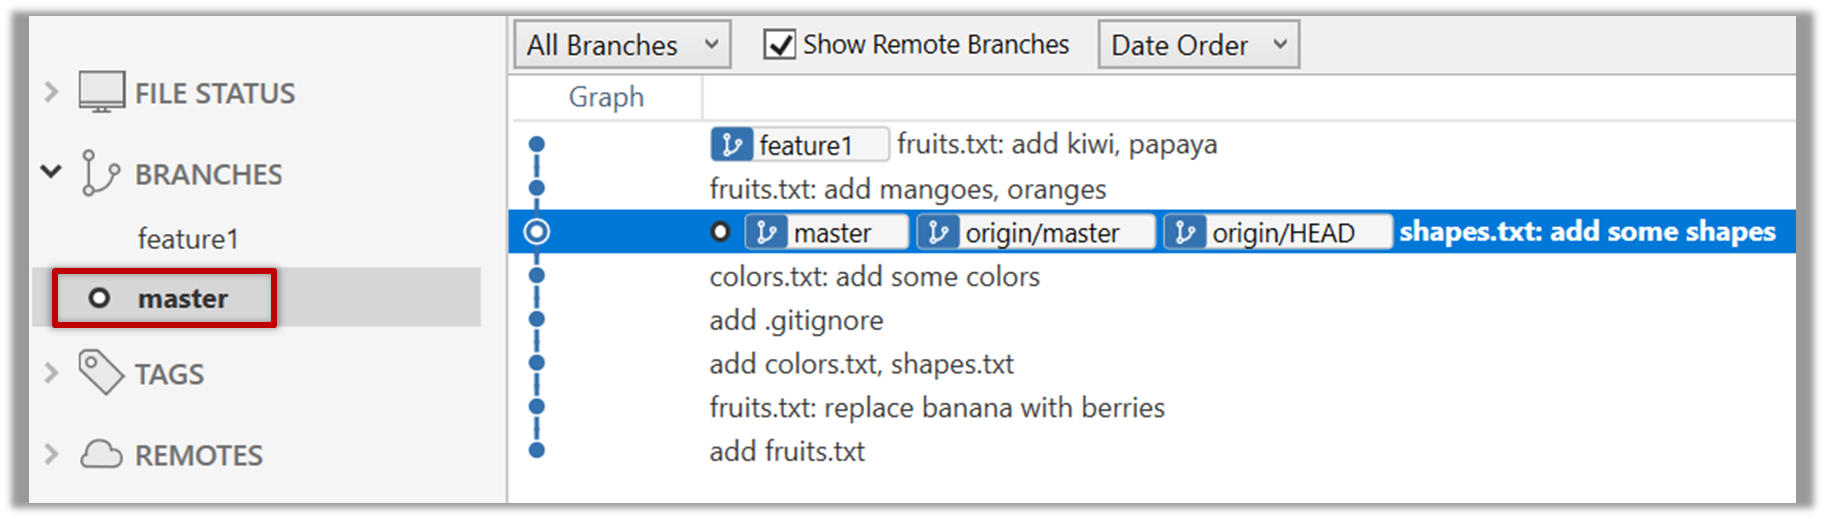
Revisiting master vs origin/master
In the screenshot above, you see a master ref and a origin/master ref for the same commit. The former identifies the of the local master branch while the latter identifies the tip of the master branch at the remote repo named origin. The fact that both refs point to the same commit means the local master branch and its remote counterpart are with each other.
Similarly, origin/HEAD ref appearing against the same commit indicates that of the remote repo is pointing to this commit as well.
6 Add a commit to the master branch. Let’s imagine it’s a bug fix.
To keep things simple for the time being, this commit should not involve the same content that you changed in the feature1 branch. To be on the safe side, you can change an entirely different file in this commit.
gitGraph BT:
    %%{init: { 'theme': 'default', 'gitGraph': {'mainBranchName': 'master'}} }%%
    commit id: "m1"
    commit id: "m2"
    branch feature1
    commit id: "f1"
    commit id: "[feature] f2"
    checkout master
    commit id: "[HEAD → master] m3"
    checkout feature1
7 Switch between the two branches and see how the working directory changes accordingly. That is, now you have two parallel timelines that you can freely switch between.
done!
You can also start a branch from an earlier commit, instead of the latest commit in the current branch. For that, simply check out the commit you wish to start from.
In the samplerepo-things repo that you used above, let's create a new branch that starts from the same commit the feature1 branch started from. Let's pretend this branch will contain an alternative version of the content we added in the feature1 branch.
gitGraph BT:
    %%{init: { 'theme': 'default', 'gitGraph': {'mainBranchName': 'master'}} }%%
    commit id: "m1"
    commit id: "m2"
    branch feature1
    branch feature1-alt
    checkout feature1
    commit id: "f1"
    commit id: "[feature1] f2"
    checkout master
    commit id: "[HEAD → master] m3"
    checkout feature1-alt
    commit id: "[HEAD → feature1-alt] a1"
Avoid this rookie mistake!
Always remember to switch back to the master branch before creating a new branch. If not, your new branch will be created on top of the current branch.
- Switch to the
masterbranch. - Checkout the commit that is at which the
feature1branch diverged from themasterbranch (e.g.git checkout HEAD~1). This will create a detachedHEAD. - Create a new branch called
feature1-alt. TheHEADwill now point to this new branch (i.e., no longer 'detached'). - Add a commit on the new branch.
done!