After staging, you can now proceed to save the snapshot, aka creating a commit.
Saving a snapshot is called committing and a saved snapshot is called a commit.
A Git commit is a full snapshot of your working directory based on the files you have staged, more precisely, a record of the exact state of all files in the staging area (index) at that moment -- even the files that have not changed since the last commit. This is in contrast to other revision control software that only store the in a commit. Consequently, a Git commit has all the information it needs to recreate the snapshot of the working directory at the time the commit was created.
A commit also includes metadata such as the author, date, and an optional commit message describing the change.
A Git commit is a snapshot of all tracked files, not simply a delta of what changed since the last commit.
Assuming you have previously staged changes to the fruits.txt, go ahead and create a commit.
1 First, let us do a sanity check using the git status command.
git status
On branch master

No commits yet

Changes to be committed:
(use "git rm --cached <file>..." to unstage)
  new file:   fruits.txt
2 Now, create a commit using the commit command. The -m switch is used to specify the commit message.
git commit -m "Add fruits.txt"
[master (root-commit) d5f91de] Add fruits.txt
 1 file changed, 5 insertions(+)
 create mode 100644 fruits.txt
3 Verify the staging area is empty using the git status command again.
git status
On branch master
nothing to commit, working tree clean
Note how the output says nothing to commit which means the staging area is now empty.
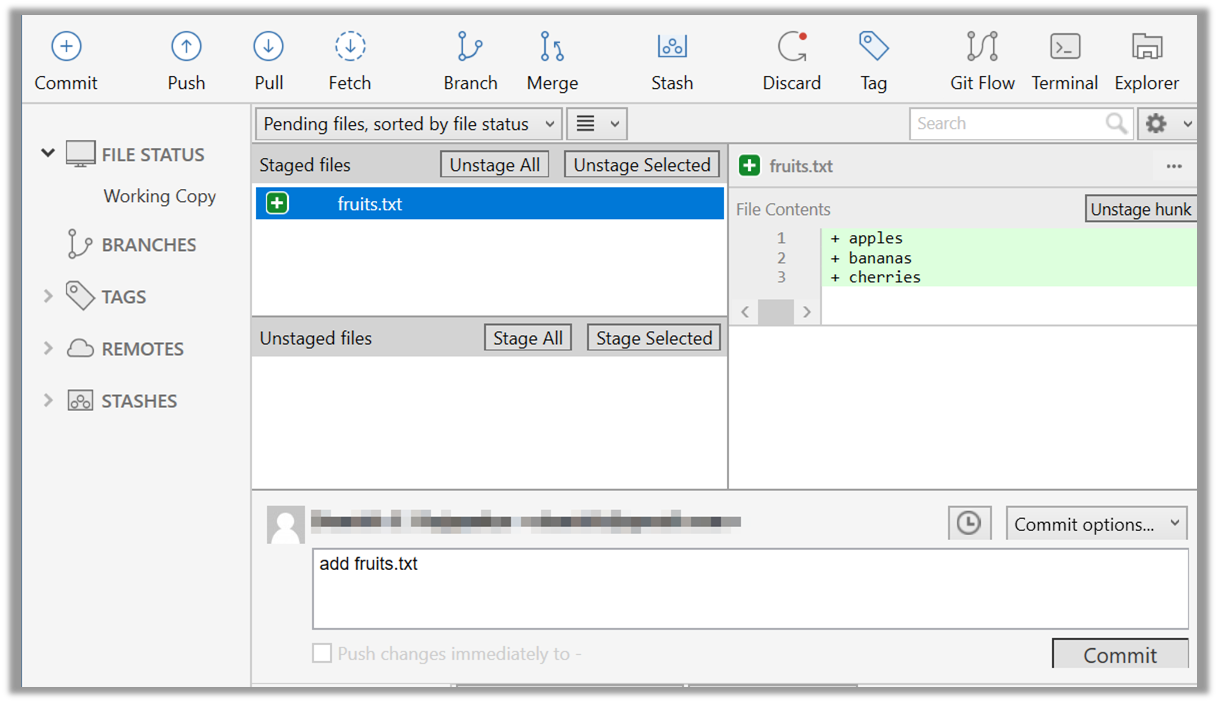
Click the Commit button, enter a commit message (e.g. add fruits.txt) into the text box, and click Commit.
done!
Git commits form a timeline, as each corresponds to a point in time when you asked Git to take a snapshot of your working directory. Each commit links to at least one previous commit, forming a structure that we can traverse.
A timeline of commits is called a branch. By default, Git names the initial branch master -- though many now use main instead. You'll learn more about branches in future lessons. For now, just be aware that the commits you create in a new repo will be on a branch called master (or main) by default.
gitGraph
    %%{init: { 'theme': 'default', 'gitGraph': {'mainBranchName': 'master (or main)'}} }%%
    commit id: "Add fruits.txt"
    commit id: "Update fruits.txt"
    commit id: "Add colours.txt"
    commit id: "..."
Git can show you the list of commits in the Git history.
1 View the list of commits, which should show just the one commit you created just now.
You can use the git log command to see the commit history.
git log
commit d5f91de... (HEAD -> master)
Author: ... <...@...>
Date:   ...

Add fruits.txt
Use the Q key to exit the output screen of the git log command.
Note how the output has some details about the commit you just created. You can ignore most of it for now, but notice it also shows the commit message you provided.
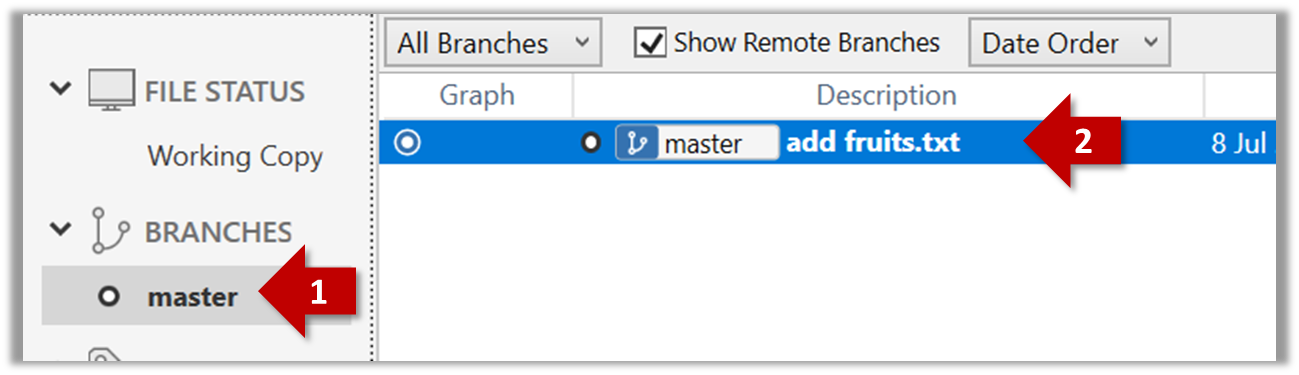
Expand the BRANCHES menu and click on the master to view the history graph, which contains only one node at the moment, representing the commit you just added. For now, ignore the label master attached to the commit.
2 Create a few more commits (i.e., a few rounds of add/edit files -> stage -> commit), and observe how the list of commits grows.
Here is an example list of bash commands to add two commits while observing the list of commits
$ echo "figs" >> fruits.txt  # add another line to fruits.txt
$ git add fruits.txt  # stage the updated file
$ git commit -m "Insert figs into fruits.txt"  # commit the changes
$ git log  # check commits list

$ echo "a file for colours" >> colours.txt  # add a colours.txt file
$ echo "a file for shapes" >> shapes.txt  # add a shapes.txt file
$ git add colours.txt shapes.txt  # stage both files in one go
$ git commit -m "Add colours.txt, shapes.txt"  # commit the changes
$ git log  # check commits list
The output of the final git log should be something like this:
commit 18300... (HEAD -> master)
Author: ... <...@...>
Date:   ...

    Add colours.txt, shapes.txt

commit 2beda...
Author: ... <...@...>
Date:   ...

    Insert figs into fruits.txt

commit d5f91...
Author: ... <...@...>
Date:   ...

    Add colours.txt, shapes.txt
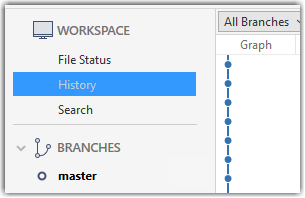
To see the list of commits, click on the History item (listed under the WORKSPACE section) on the menu on the right edge of Sourcetree.
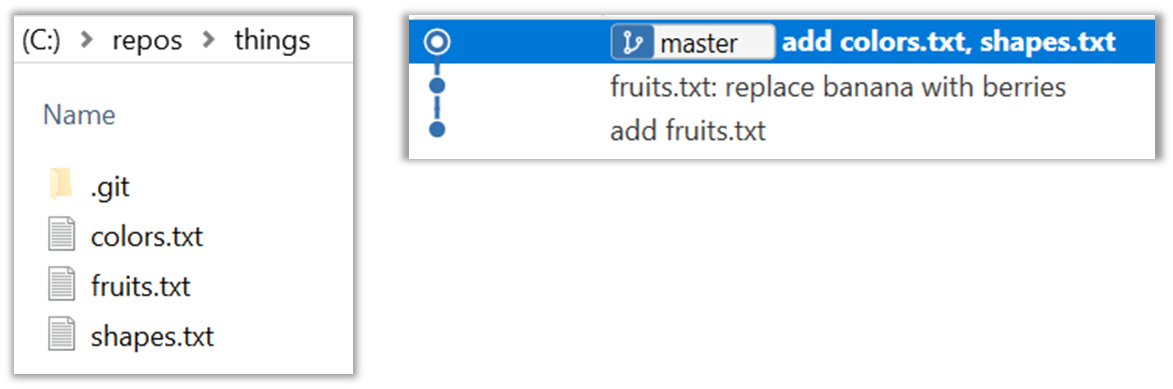
After adding two more commits, the list of commits should look something like this:
done!