Before you start learning Git, you need to install some tools on your computer.
Installing Git
Git is a free and open source software used for revision control. To use Git, you need to install Git on your computer.
PREPARATION: Install Git
Download the Git installer from the official Git website.
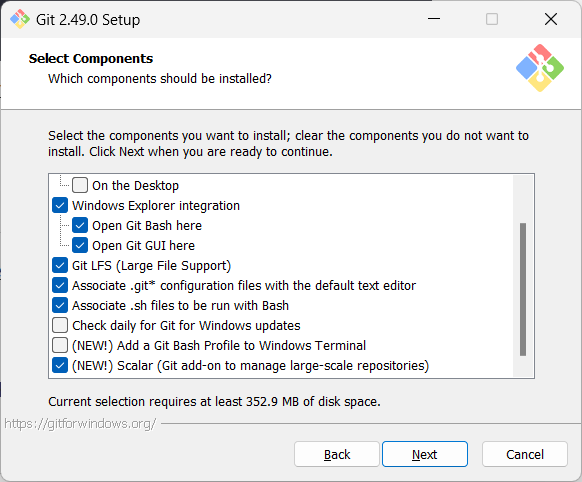
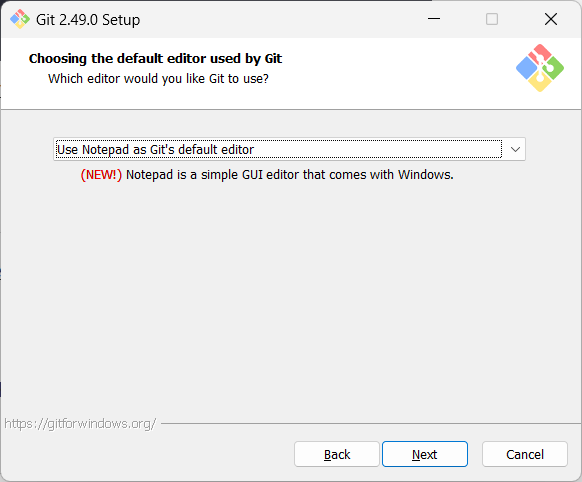
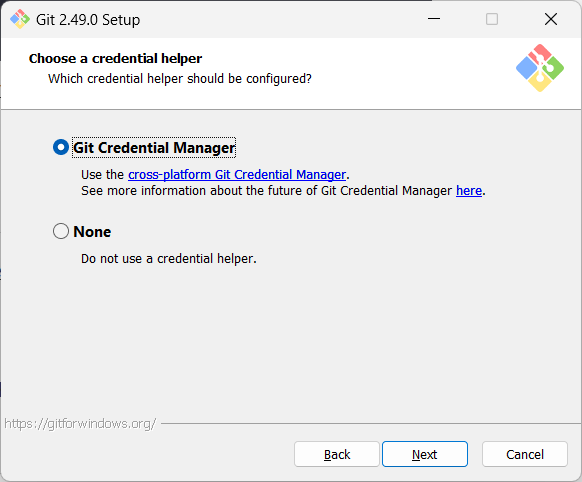
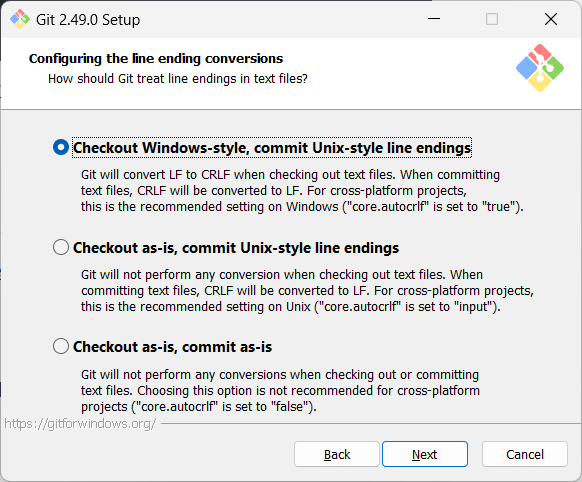
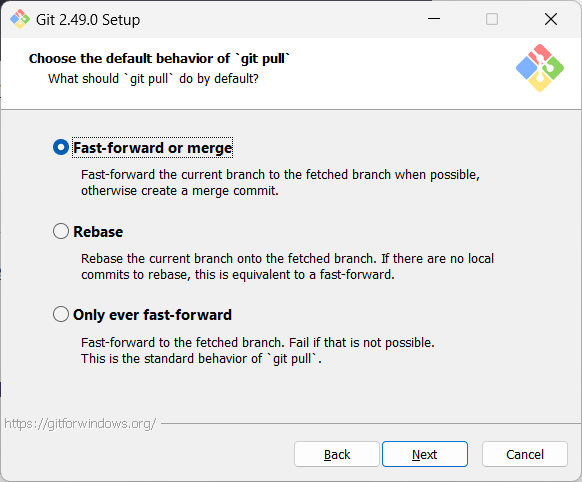
Run the installer and make sure to select the option to install Git Bash when prompted.
Screenshots given below provide some guidance on the dialogs you might encounter when installing Git. In other cases, go with the default option.
When running Git commands, we recommend Windows users to use the Git Bash terminal that comes with Git. To open Git Bash terminal, hit the key and type git-bash.
It may be possible that the installation didn't add a shortcut to the Start Menu.
You can navigate to the directory where git-bash.exe is (most likely C:\Program Files\Git\git-bash.exe), double click git-bash.exe to open Git Bash.
You can also right-click it and choose Pin to Start or Pin to taskbar.
SIDEBAR: Git Bash Terminal
Git Bash is a terminal application that lets you use Git from the command line on Windows. Since Git was originally developed for Unix-like systems (like Linux and macOS), Windows does not come with a native shell that supports all the commands and utilities commonly used with Git.

Git Bash provides a Unix-like command-line environment on Windows. It includes:
- A Bash shell (Bash stands for Bourne Again SHell), which is a widely used command-line interpreter on Linux and macOS.
- Common Unix tools and commands (like
ls,cat,ssh, etc.) that are useful when working with Git and scripting.
When copy-pasting text onto a Git Bash terminal, you will not be able to use the familiar Ctrl+V key combo to paste. Instead, right-click on the terminal and use the Paste menu option.
Install homebrew if you don't already have it, and then, run brew install git
Use your Linux distribution's package manager to install Git. Examples:
Debian/Ubuntu, run
sudo apt-get updateand thensudo apt-get install git.Fedora: run
sudo dnf updateand thensudo dnf install git.
Verify Git is installed, by running the following command in a terminal.
git --version
git version 2._._
The output should display the version number.
Configuring user.name and user.email
Git needs to know who you are to record changes properly. When you save a snapshot of your work in Git, it records your name and email as the author of that change. This ensures everyone working on the project can see who made which changes. Accordingly, you should set the config settings user.name and user.email before you start Git for revision control.
Interacting with Git: CLI vs GUI
Git is fundamentally a command-line tool. You primarily interact with it through its by typing commands. This gives you full control over its features and helps you understand what’s really happening under the hood.
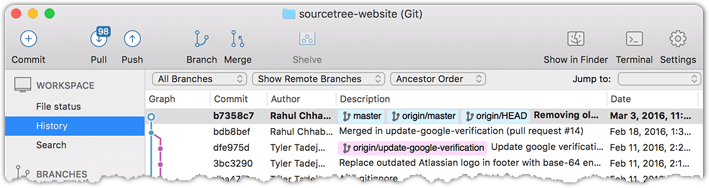
clients for Git also exist, such as Sourcetree, GitKraken, and the built-in Git support in editors like Intellij IDEA and VS Code. These tools provide a more visual way to perform some Git operations.
If you're new to Git, it's best to learn the CLI first. The CLI is universal, always available (even on servers), and helps you build a solid understanding of Git’s concepts. You can use GUI clients as a supplement — for example, to visualise complex history structures.
Mastering the CLI gives you confidence and flexibility, while GUI tools can serve as helpful companions.
PREPARATION: [Optional] Install a GUI client
Optionally, you can install a Git GUI client. e.g., Sourcetree (installation instructions).
Our Git lessons show how to perform Git operations in Git CLI, and in Sourcetree -- the latter just to illustrate how Git GUIs work. It is perfectly fine for you to learn the CLI only.
[image credit: https://www.sourcetreeapp.com]